Setup
(Note, that this tutorial is intended for students of TUK.)
For developing CLASH you should only need IntelliJ IDEA with some plug-ins and Git.
Getting the Project into IntelliJ
Clone the repository:
git clone git@git.cs.uni-kl.de:clash/neoclash.git
Open the cloned project in IntelliJ (do not import or anything, the git repository contains all information for IntelliJ to pick this up as IntelliJ project). You should see this pop-up:

Select “Import Gradle Project”. Depending on your System, this importing will take some time. During that time, Gradle will setup the environment, like download the correct version of itself, download used plugins, download required dependencies and so on. After that, you should see this something similar to this in the project view of IntelliJ:
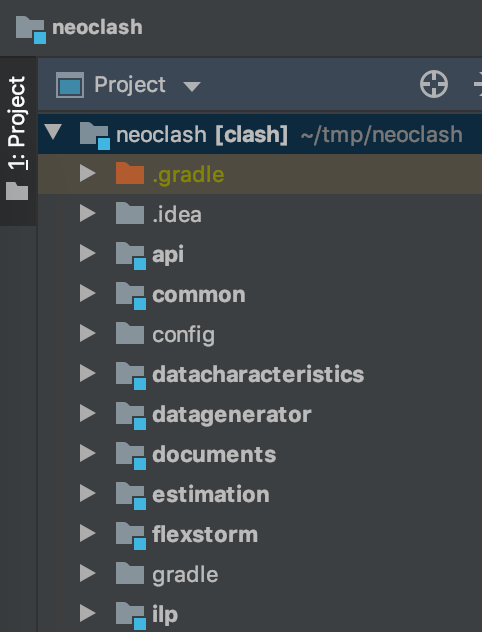
Note the blue squares at the folders. They indicate that this folder contains an individual module. If you don’t see a special marking on the folders, the import was not successful.
Running CLASH CLI
In the api module, the file cli.kt contains the main-Method which is the main entrypoint for the CLASH’s command-line interface. You can run it using the “play” arrow that IntelliJ displays in the gutter next to the main method, if the previous import was successful:

On the first time you run this method, IntelliJ builds the project which again takes some time. After that you should see an output like this in IntelliJ’s run panel:
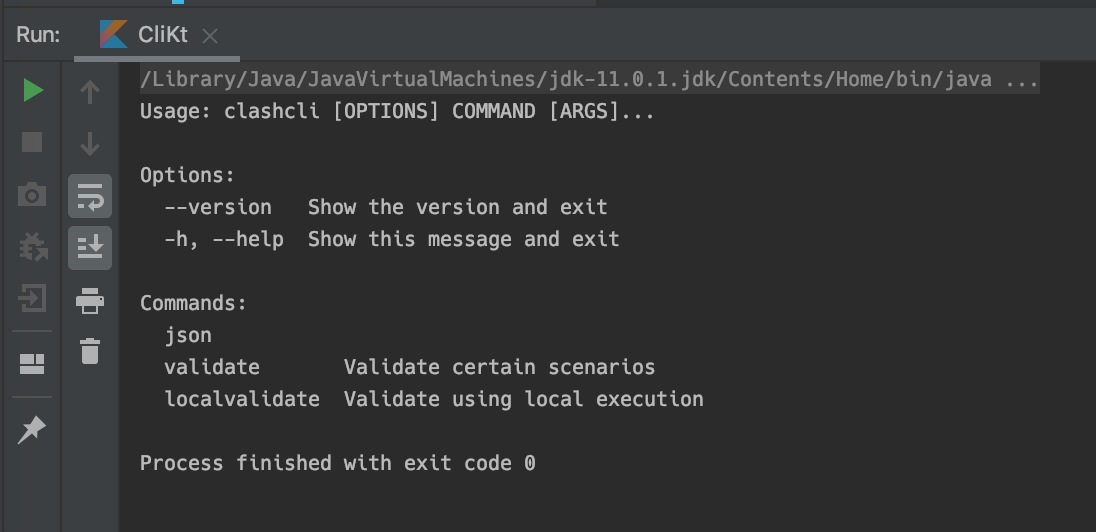
Great, that was proof, that CLASH built successfully and you were able to execute it!
Running Validations
CLASH CLI has subcommands for validation. These are used to automatically run (rather) full-fledged tests where queries are executed on predefined inputs and the output is analyzed for correctness.
There are two flavors of validation, one is only called validation (because it was first) where a Storm Cluster is executed in local mode. Here real Storm behavior can be analyzed and, e.g., the working of spouts and bolts as well as the building is mostly like on a real cluster. The second one is local-validation where a single-threaded randomized execution simulates the behavior of a real Storm topology. It is suited for the smaller tests of correctness because it is significantly easier to setup therefore faster to execute.
For running local tests, it is recommended to prepare some run configurations. Click in the upper right part of IntelliJ on the currently selected run configuration (should be CliKt, if you run the main method as shown before):
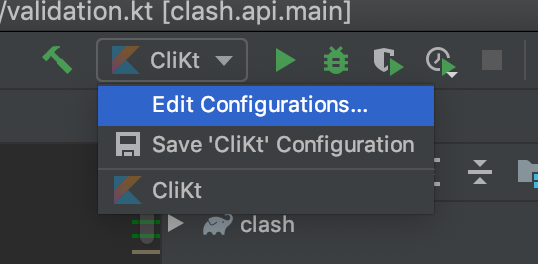
This will open this window:
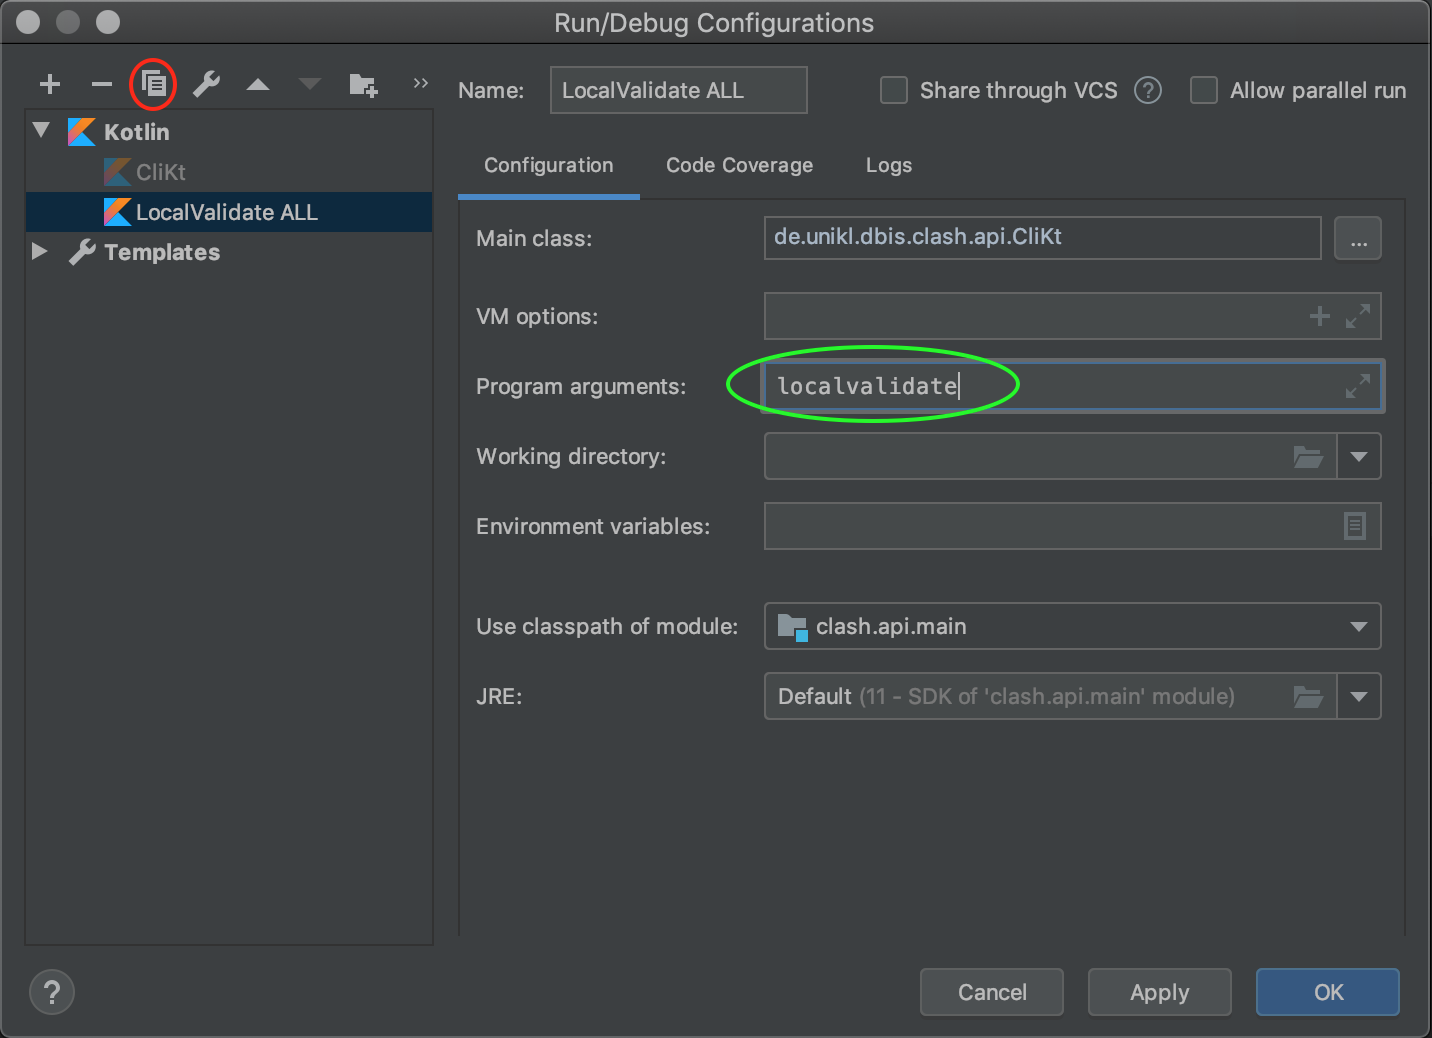
You can copy run configurations using the button marked in a red circle. This helps with quickly accessing different program arguments. Add the program argument localvalidate (green circle) and run the program. The output should be similar to this:
Result for validation/local/aggregation/sum_double: They are equal :)
Result for validation/local/aggregation/sum_int: They are equal :)
Result for validation/local/aggregation/avg_int: They are equal :)
Result for validation/local/aggregation/count_int: They are equal :)
Result for validation/local/filters/equality_string: They are equal :)
Result for validation/local/filters/equality_int: They are equal :)
Exception in thread "main" java.nio.file.NoSuchFileException: validation/tpc-h/part.10k.json
    at java.base/sun.nio.fs.UnixException.translateToIOException(UnixException.java:92)
    at java.base/sun.nio.fs.UnixException.rethrowAsIOException(UnixException.java:111)
...
This means, some validations went through successfully, but one died with an exception. This is, because validation files in the tpc-h folder are too big to be included in the repository.
In order to run specific validations, add another argument after localvalidate, to only run validations which include this substring. For example localvalidate count_int will only run the one validation that has count_int in its name.